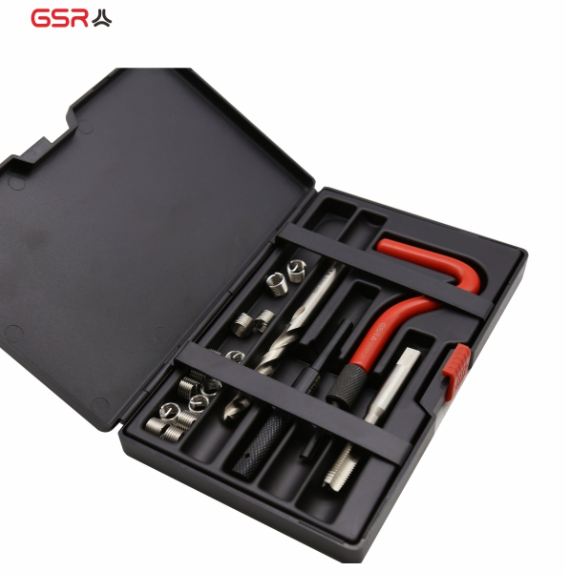
Thread repair kits are used to repair damaged or stripped threads in a hole or on a bolt. They typically consist of a tap, a die, and installation tools. Here is a general guide on how to use thread repair kit:

1.Clean the area around the damaged threads thoroughly to remove any debris or contaminants.
2.Determine the size of the threads you need to repair. Consult the thread repair kit's instructions or a thread gauge to determine the correct size tap and die for your repair.
3.Install the tap into the tap handle and lubricate the tap with cutting oil.
4.Position the tap over the damaged threads and begin turning the tap handle clockwise to cut new threads. Be sure to turn the tap handle slowly and steadily, applying even pressure.
5.Once the tap has cut through the damaged threads, remove it from the hole and clean any debris from the newly-cut threads.
6.Install the die onto the die handle and lubricate the die with cutting oil.
7.Position the die over the newly-cut threads and begin turning the die handle clockwise to finish the threads. Be sure to turn the die handle slowly and steadily, applying even pressure.
8.Once the die has finished the threads, remove it from the hole and clean any debris from the newly-repaired threads.
9.Test the repaired threads by installing a bolt or screw into the repaired hole. If the bolt or screw turns smoothly and seats properly, the repair is complete. If not, repeat the process until the repair is successful.
10.It's important to follow the instructions provided with the thread repair kit carefully and to use the correct size tap and die for your repair. Using the wrong size or applying too much pressure can cause further damage to the threads.
评论
发表评论